
Little Debbie Christmas Tree Cake Balls Recipe
Introduction
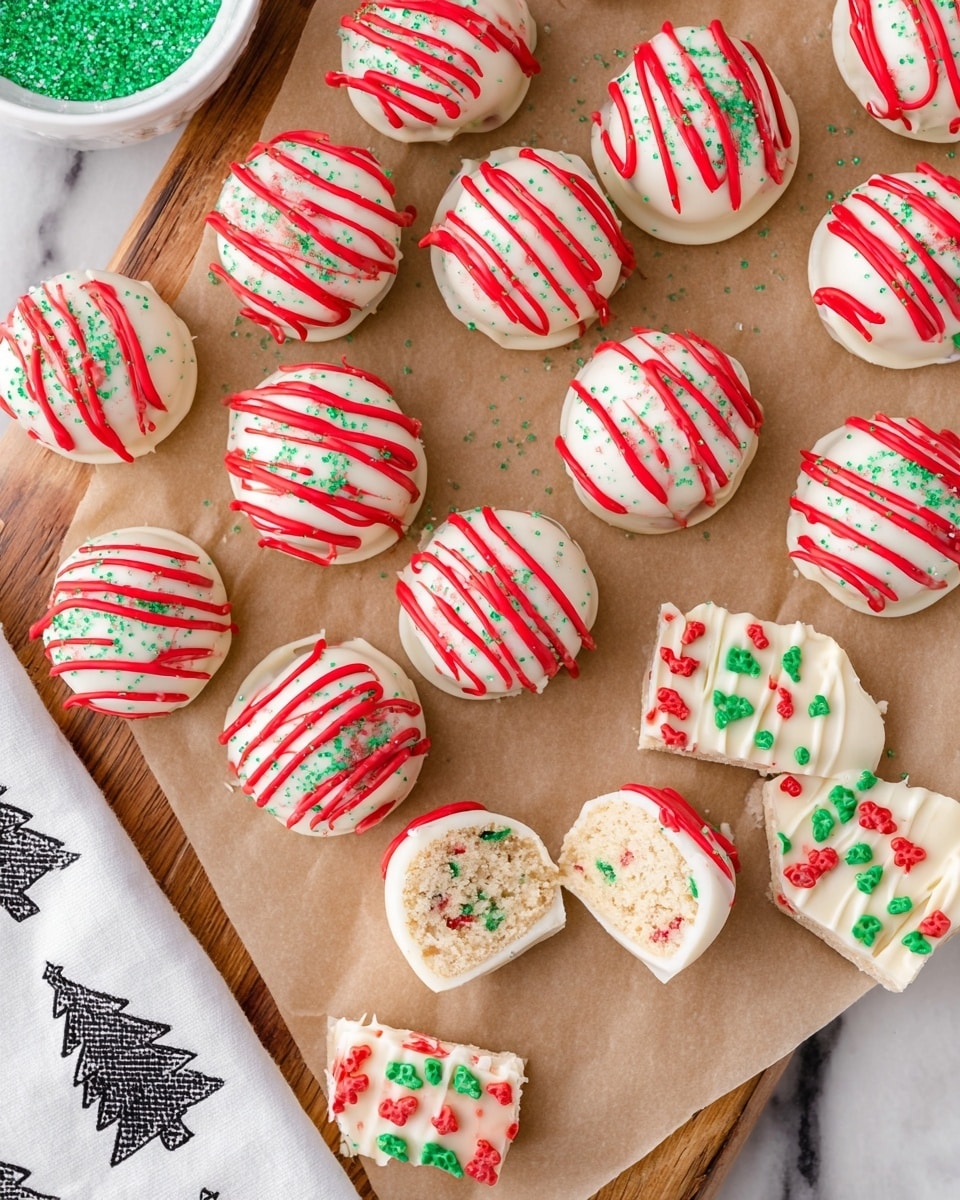
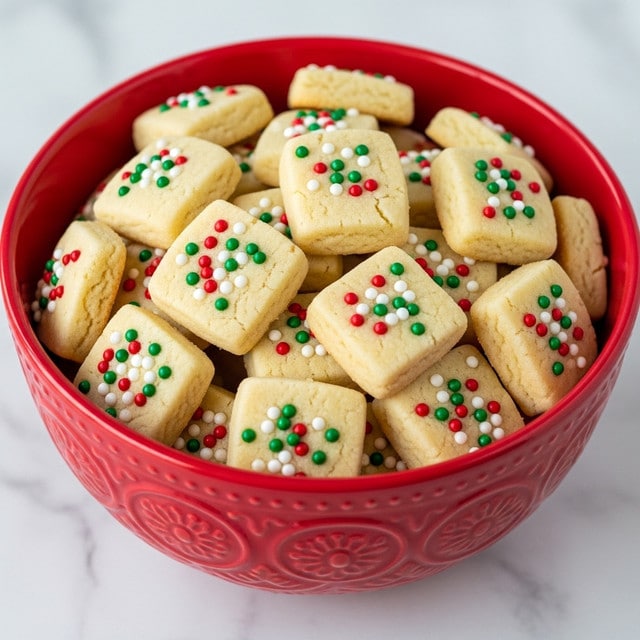
These Little Debbie Christmas Tree Cake Balls are a festive and fun twist on a classic treat. With a creamy cream cheese center and a smooth white chocolate coating, they’re perfect for holiday parties or a sweet seasonal snack.
Ingredients
- 10 Little Debbie vanilla Christmas tree snack cakes (unwrapped, from 2 – 8.62 oz. boxes)
- 8 ounces cream cheese (softened to room temperature)
- 20 ounces white chocolate melting wafers (Ghirardelli brand recommended)
- 6 ounces red vanilla flavored melting candy wafers (Wilton brand recommended)
- 1 tablespoon green sanding sugar sprinkles
Instructions
- Step 1: Line two large baking sheets with parchment paper or a silicone mat and set aside.
- Step 2: In a large mixing bowl, beat the softened cream cheese on medium speed using a handheld mixer for 1-2 minutes until fluffy and smooth.
- Step 3: Break the Little Debbie vanilla Christmas tree snack cakes into smaller pieces and add them to the cream cheese. Mix on low speed until fully combined. Some small pieces of the coating may remain, but the mixture should be mostly smooth.
- Step 4: Using a small cookie scoop, portion out about 1 tablespoon of the cake mixture. Place it in the palm of your hand and gently roll into a smooth ball.
- Step 5: Place each cake ball onto one of the prepared baking sheets. Repeat until all the mixture is used.
- Step 6: Freeze the cake balls for 30-45 minutes until solid. This helps with coating them later.
- Step 7: Melt the white chocolate wafers in a medium bowl according to package instructions, stirring until smooth.
- Step 8: In a separate bowl, melt the red vanilla flavored candy wafers as directed. Stir until smooth and transfer to a small piping bag with the tip cut off.
- Step 9: Dip a single frozen cake ball into the melted white chocolate, fully coating it. Lift with a fork and tap gently on the side of the bowl to remove excess chocolate.
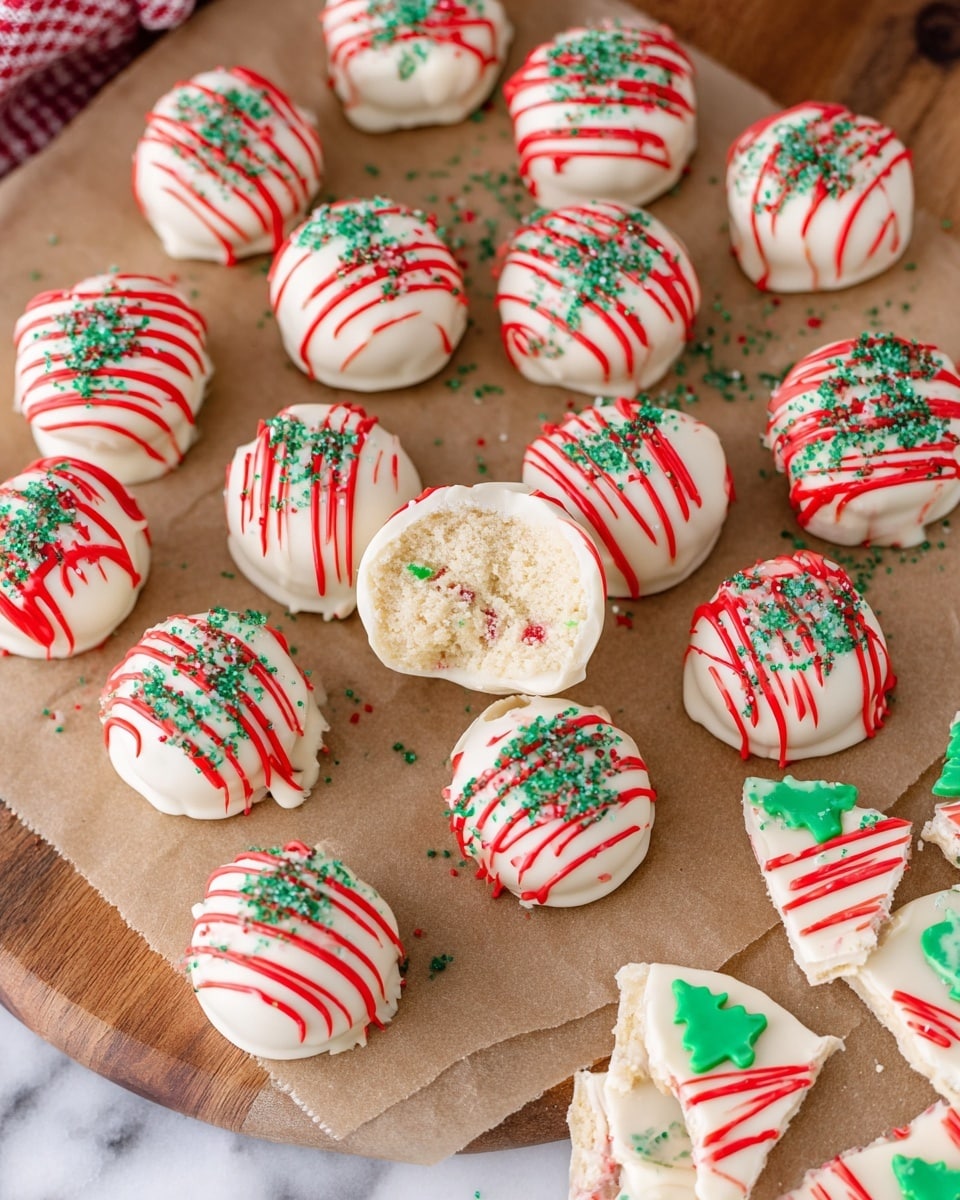
- Step 10: Place the coated cake ball onto the second prepared baking sheet. Pipe a zig-zag pattern across the top using the melted red candy wafers, then sprinkle with green sanding sugar to mimic the original Christmas tree design. Repeat with remaining cake balls.
- Step 11: Allow the coated cake balls to set for 15-20 minutes until the chocolate is firm before serving.
Tips & Variations
- For easier rolling, keep your hands slightly chilled or dusted with powdered sugar to prevent sticking.
- Substitute cream cheese with flavored cream cheese spreads for a twist on the taste.
- Use colored sanding sugar sprinkles to create different holiday themes.
- If you prefer, dip the cake balls in milk or dark chocolate instead of white chocolate for a richer flavor.
Storage
Store the cake balls in an airtight container in the refrigerator for up to 5 days. Let them come to room temperature for about 10 minutes before serving for the best texture. They can also be frozen for up to 2 months; thaw in the refrigerator overnight before enjoying.
How to Serve
Serve this delicious recipe with your favorite sides.
FAQs
Can I use other types of snack cakes?
Yes, you can substitute with any similar vanilla or flavored snack cakes, but the texture and flavor may vary slightly.
What if I don’t have candy melting wafers?
You can use regular chocolate or candy melts, but make sure to melt them gently and stir well for a smooth coating and decoration.
Print
Little Debbie Christmas Tree Cake Balls Recipe
- Total Time: 1 hour 5 minutes
- Yield: Approximately 40 cake balls 1x
- Diet: Vegetarian
Description
These festive Little Debbie Christmas Tree Cake Balls are a delightful holiday treat combining creamy cream cheese and Little Debbie vanilla Christmas tree snack cakes, all coated in smooth white chocolate and decorated with red candy drizzle and green sanding sugar for a beautiful, bite-sized dessert perfect for holiday gatherings.
Ingredients
Cake Ball Mixture
- 10 Little Debbie vanilla Christmas tree snack cakes, unwrapped (from 2 – 8.62 oz. boxes)
- 8 ounces cream cheese, softened to room temperature
Coating and Decoration
- 20 ounces white chocolate melting wafers (Ghirardelli brand recommended)
- 6 ounces red vanilla flavored melting candy wafers (Wilton brand recommended)
- 1 tablespoon green sanding sugar sprinkles
Instructions
- Prepare Baking Sheets: Line two large baking sheets with parchment paper or silicone mats and set them aside to use for placing the cake balls before and after coating.
- Beat Cream Cheese: In a large mixing bowl, beat the softened cream cheese on medium speed using a handheld mixer for 1-2 minutes until it is fluffy and smooth, creating a light base for the cake mixture.
- Combine Cake with Cream Cheese: Break the Little Debbie vanilla Christmas tree snack cakes into smaller pieces and add them to the bowl with cream cheese. Mix on low speed just until fully combined, leaving some small pieces of cake coating intact for texture, while ensuring the mixture is relatively smooth.
- Form Cake Balls: Using a small cookie scoop, portion out approximately 1 tablespoon of the cake mixture. Place the portion into your palm and gently roll it into a smooth, round ball. Repeat this process with the remaining mixture.
- Arrange for Freezing: Place each formed cake ball onto one of the prepared baking sheets, leaving some space between them to prevent sticking.
- Freeze Cake Balls: Freeze the cake balls for 30-45 minutes until they are completely solid. This step makes them easier to coat in melted chocolate without falling apart.
- Melt White Chocolate: Melt the white chocolate wafers in a medium bowl following the package directions. Stir the chocolate until smooth and glossy.
- Melt Red Candy Wafers: In a separate small bowl, melt the red vanilla flavored candy wafers according to the package instructions. Stir until smooth and transfer the melted candy into a piping bag with the tip cut off for decorating.
- Coat Cake Balls: Dip one frozen cake ball at a time into the melted white chocolate, ensuring it is completely coated. Use a fork to lift it out, gently tapping the fork against the bowl’s edge to let excess chocolate drip back into the bowl.
- Decorate: Place the coated cake ball onto the second prepared baking sheet. Pipe a decorative zig-zag pattern over the top using the red melted candy wafers to mimic the look of the original Little Debbie snack cakes. Sprinkle a pinch of green sanding sugar over each for a festive touch. Repeat this coating and decorating process with all cake balls.
- Set and Serve: Allow the coated cake balls to set for 15-20 minutes until the white chocolate coating is firm. Once set, they are ready to be plated and served as a festive holiday treat.
Notes
- You can use different flavors of candy wafers to create various decorative effects.
- Freezing the cake balls thoroughly before dipping helps prevent them from breaking apart in the chocolate coating.
- If you do not have sanding sugar, colored sugar crystals or sprinkles can be used as alternatives.
- Store the cake balls in an airtight container in the refrigerator for up to 5 days to maintain freshness.
- For easier handling, work in batches while coating the cake balls in chocolate to keep them firm.
- Prep Time: 20 minutes
- Cook Time: 45 minutes (includes freezing time)
- Category: Dessert
- Method: No-Cook
- Cuisine: American
Keywords: Little Debbie, Christmas Tree Cake Balls, Holiday Dessert, Cake Balls, White Chocolate, Festive Treats, No Bake, Christmas Snack


