
Red, White and Blue Mini Cheesecakes Recipe
Introduction
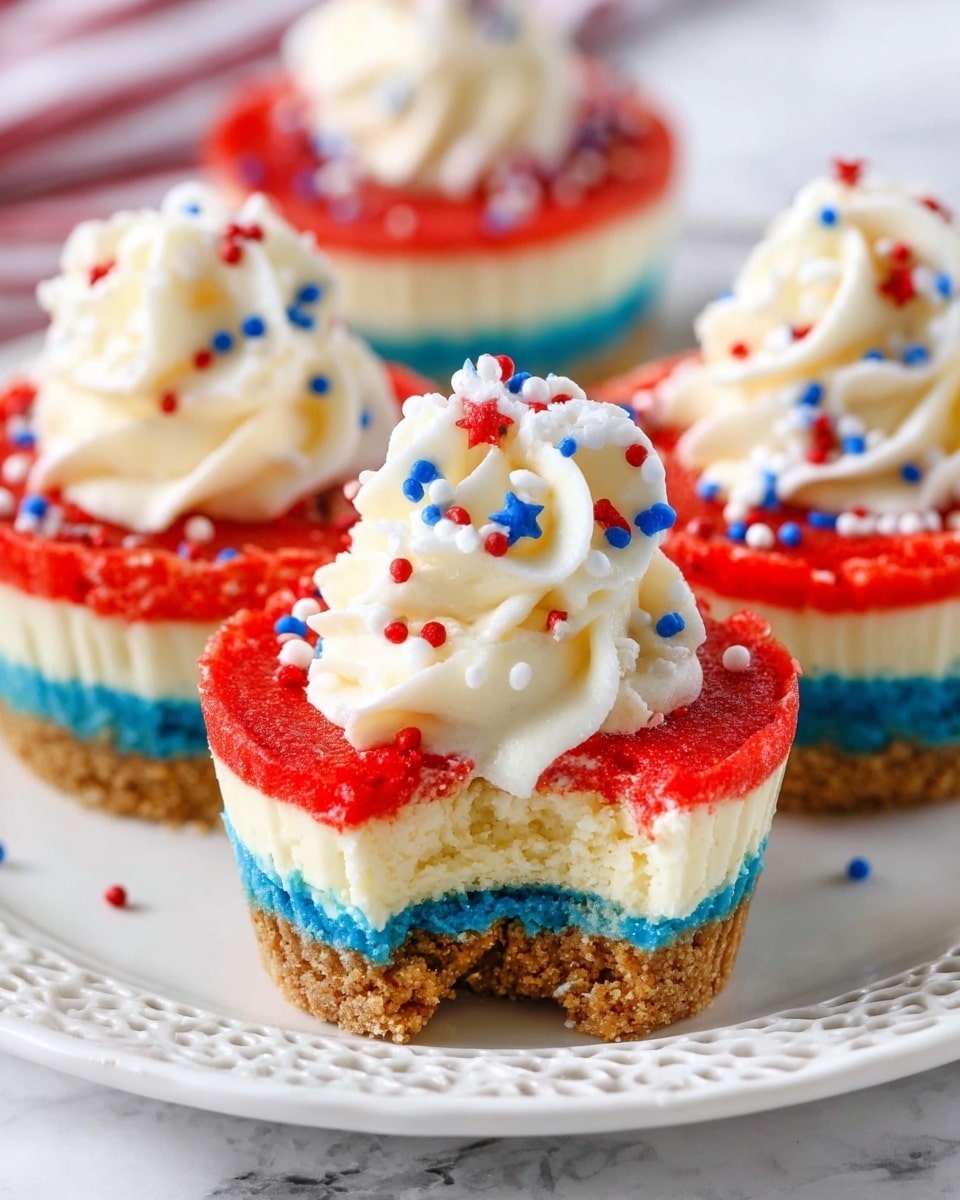
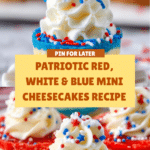
These Red, White and Blue Mini Cheesecakes are a festive and colorful treat perfect for any celebration. Combining creamy cheesecake layers with a crunchy vanilla wafer crust, they’re topped with whipped cream and sprinkles for a fun finishing touch.

Ingredients
- 1 cup (134g) vanilla wafer cookie crumbs
- 2 tbsp (26g) sugar
- 4 tbsp (56g) butter, melted
- 12 ounces (339g) cream cheese, room temperature
- 1/2 cup (104g) sugar
- 3 tbsp (24g) flour
- 1/2 cup (115g) sour cream
- 1 1/2 tsp vanilla extract
- 2 eggs
- Blue gel icing color
- Red gel icing color
- 1/2 cup (120ml) heavy whipping cream, cold
- 5 tbsp (36g) powdered sugar
- 1/2 tsp vanilla extract
- Sprinkles
Instructions
- Step 1: Preheat the oven to 325°F (162°C) and line a cupcake pan with cupcake liners.
- Step 2: In a bowl, combine vanilla wafer cookie crumbs, 2 tablespoons sugar, and melted butter. Divide this mixture evenly into the liners (about 2 tablespoons each) and press firmly into the bottoms to form the crust.
- Step 3: Bake the crusts for 5 minutes, then remove from the oven and allow them to cool while you prepare the filling.
- Step 4: Lower the oven temperature to 300°F (148°C). In a large bowl, beat the cream cheese, 1/2 cup sugar, and flour on low speed until combined, scraping down the bowl as needed to avoid cracks in the cheesecake.
- Step 5: Add the sour cream and 1 1/2 teaspoons vanilla extract, mixing on low speed until smooth.
- Step 6: Add eggs one at a time, beating slowly and scraping the bowl after each addition until the batter is smooth.
- Step 7: Divide the batter evenly into three bowls. Leave one plain (white), add red gel icing color to one, and blue gel icing color to the third.
- Step 8: Layer the batters into the crusts by spooning about one tablespoon of white batter, then red, then blue into each cup, filling most of the way.
- Step 9: Bake the cheesecakes for 18–20 minutes. After baking, turn off the oven and keep the door closed for 10 minutes to prevent cracking.
- Step 10: Crack the oven door open and let the cheesecakes cool inside for another 15–20 minutes before transferring to the refrigerator to finish cooling.
- Step 11: Once completely cooled, remove the cheesecakes from the pan.
- Step 12: To make whipped cream topping, beat the cold heavy whipping cream, powdered sugar, and 1/2 teaspoon vanilla extract on high speed until stiff peaks form.
- Step 13: Pipe or spoon the whipped cream onto each cheesecake and sprinkle with festive sprinkles.
- Step 14: Refrigerate the cheesecakes in an airtight container until ready to serve. They are best enjoyed within 2–3 days.
Tips & Variations
- Use gel food coloring sparingly for vibrant colors without altering batter texture.
- Try swapping the vanilla wafer crust for graham cracker crumbs if preferred.
- For extra flavor, add a teaspoon of lemon zest to the cheesecake batter.
- To avoid cracks, mix the batter at low speed and avoid overbeating.
Storage
Store the mini cheesecakes in an airtight container in the refrigerator. They will stay fresh for 2 to 3 days. When ready to serve, you can let them sit at room temperature for 10–15 minutes for a creamier texture. Avoid freezing as it may affect the texture and quality of the whipped cream topping.
How to Serve
Serve this delicious recipe with your favorite sides.
FAQs
Can I make these cheesecakes ahead of time?
Yes, these mini cheesecakes can be made up to 2 days in advance and stored in the refrigerator. Add the whipped cream topping just before serving for the best appearance and texture.
What can I use instead of vanilla wafer crumbs for the crust?
Graham cracker crumbs or crushed digestive biscuits make excellent substitutes and offer a slightly different flavor profile that still works well with the cheesecake.
Print
Red, White and Blue Mini Cheesecakes Recipe
- Total Time: 1 hour 10 minutes
- Yield: 12 mini cheesecakes 1x
- Diet: Vegetarian
Description
Celebrate your patriotic spirit with these delightful Red, White, and Blue Mini Cheesecakes. Featuring a buttery vanilla wafer crust, creamy tri-colored cheesecake layers, and topped with fluffy whipped cream and festive sprinkles, these mini treats are perfect for any occasion. Easy to prepare and baked to perfection, these cheesecakes are as visually stunning as they are delicious.
Ingredients
Crust
- 1 cup (134g) vanilla wafer cookie crumbs
- 2 tbsp (26g) sugar
- 4 tbsp (56g) butter, melted
Cheesecake Filling
- 12 ounces (339g) cream cheese, room temperature
- 1/2 cup (104g) sugar
- 3 tbsp (24g) flour
- 1/2 cup (115g) sour cream
- 1 1/2 tsp vanilla extract
- 2 eggs
- Blue gel icing color
- Red gel icing color
Whipped Cream Topping
- 1/2 cup (120ml) heavy whipping cream, cold
- 5 tbsp (36g) powdered sugar
- 1/2 tsp vanilla extract
- Sprinkles
Instructions
- Preheat and prepare cupcake liners: Preheat your oven to 325°F (162°C) and line a cupcake pan with cupcake liners to set up for the crust.
- Make the crust: Combine vanilla wafer crumbs, sugar, and melted butter until evenly mixed. Divide this mixture evenly between the liners—about 2 tablespoons per cup—and press firmly into the bottoms to form the crust.
- Bake the crust: Bake the crusts for 5 minutes until slightly set, then remove from oven to cool as you prepare the filling.
- Reduce oven temperature: Lower the oven temperature to 300°F (148°C) for baking the cheesecakes.
- Mix cream cheese base: In a large bowl, beat cream cheese, sugar, and flour on low speed, combining until smooth. Scrape down sides to ensure even mixing and prevent cracks.
- Add sour cream and vanilla: Incorporate sour cream and vanilla extract, mixing on low speed until well blended.
- Add eggs: Add eggs one at a time, beating slowly after each addition, scraping bowl sides to maintain uniform batter.
- Divide and color batter: Split the batter evenly into three bowls. Leave one bowl plain white, tint one red and the other blue using gel icing colors.
- Layer batter: In each cupcake liner, layer the batter starting with a tablespoon of white, then a tablespoon of red, followed by a tablespoon of blue, filling the cups mostly full to create a tri-colored effect.
- Bake cheesecakes: Bake for 18-20 minutes at 300°F (148°C). After baking, turn off the oven and keep the door closed for 10 minutes to set gently.
- Cool in oven: Crack the oven door and allow cheesecakes to cool for another 15-20 minutes before transferring to the fridge.
- Refrigerate: Chill the cheesecakes in the refrigerator to finish cooling and firm up.
- Make whipped cream topping: In a large bowl, whip cold heavy cream, powdered sugar, and vanilla extract on high speed until stiff peaks form.
- Decorate cheesecakes: Remove cooled cheesecakes from the pan, pipe the whipped cream topping onto each, and finish with colorful sprinkles.
- Storage: Store the cheesecakes in an airtight container in the refrigerator. They are best consumed within 2-3 days for optimal freshness.
Notes
- Use room temperature cream cheese for a smoother batter and fewer cracks.
- Beating the filling on low speed minimizes air incorporation that can cause cracking during baking.
- Gel icing colors provide vibrant hues without altering batter consistency.
- Allow cheesecakes to cool gradually in the oven to prevent sudden temperature changes that can crack the surface.
- Use cold whipping cream for best whipping results and stable peaks.
- Store cheesecakes refrigerated and consume within 2-3 days for optimal flavor and texture.
- Prep Time: 20 minutes
- Cook Time: 30 minutes
- Category: Dessert
- Method: Baking
- Cuisine: American
Keywords: mini cheesecakes, patriotic dessert, red white and blue dessert, layered cheesecake, festive cheesecakes, holiday desserts


