
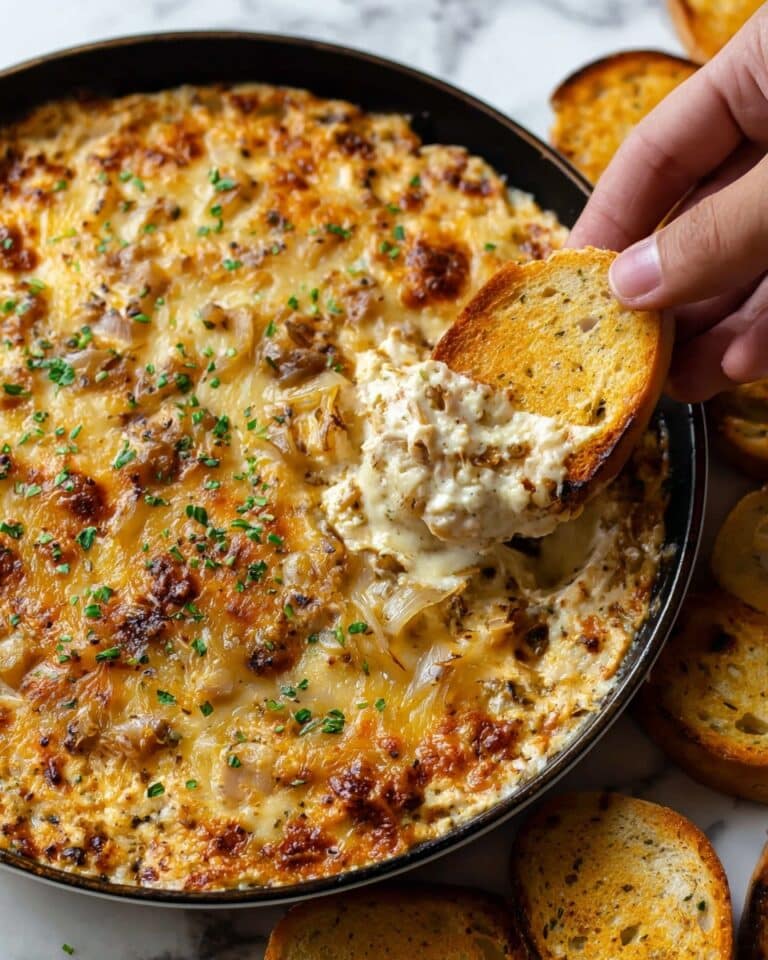
Mocha Cheesecake (No-Bake) Recipe
Introduction
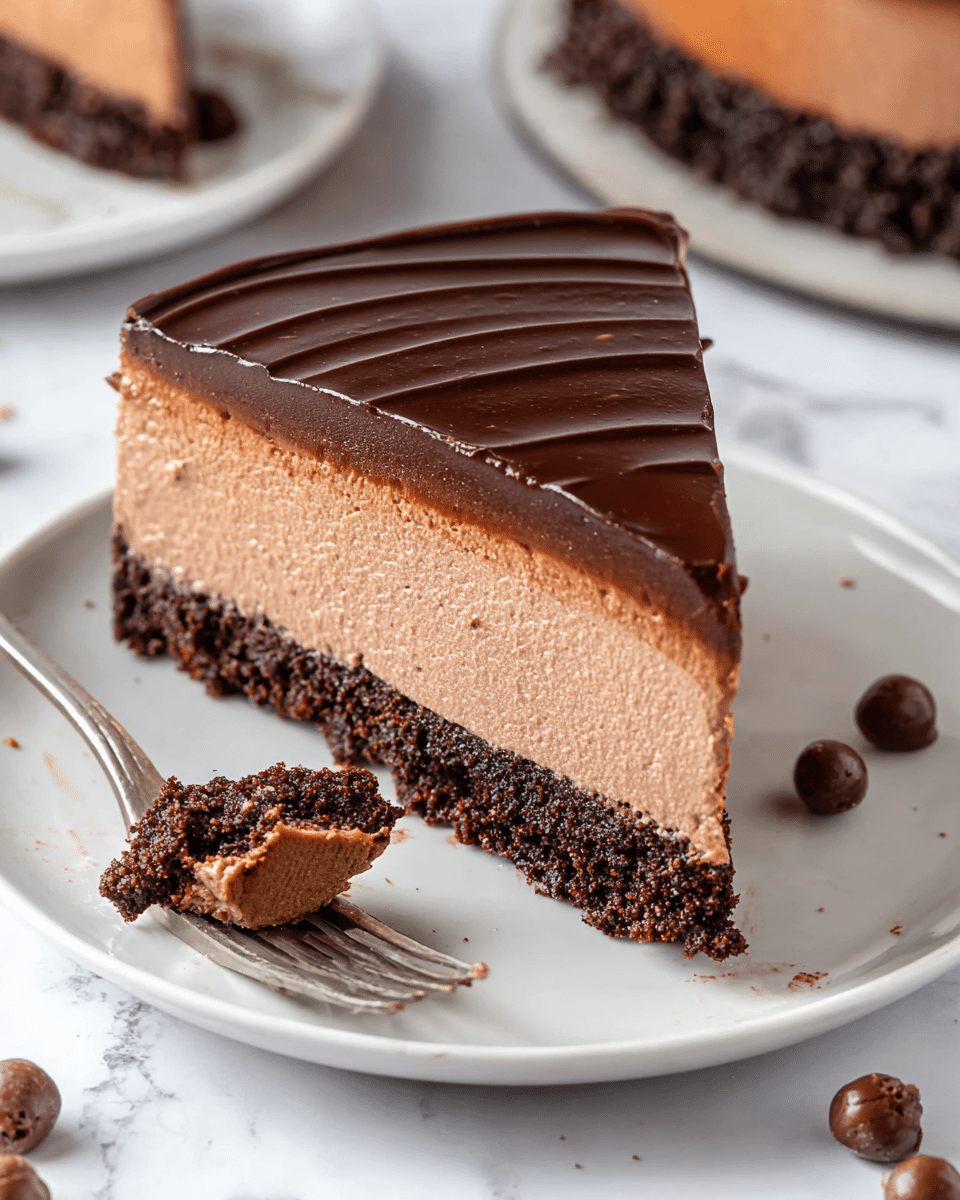
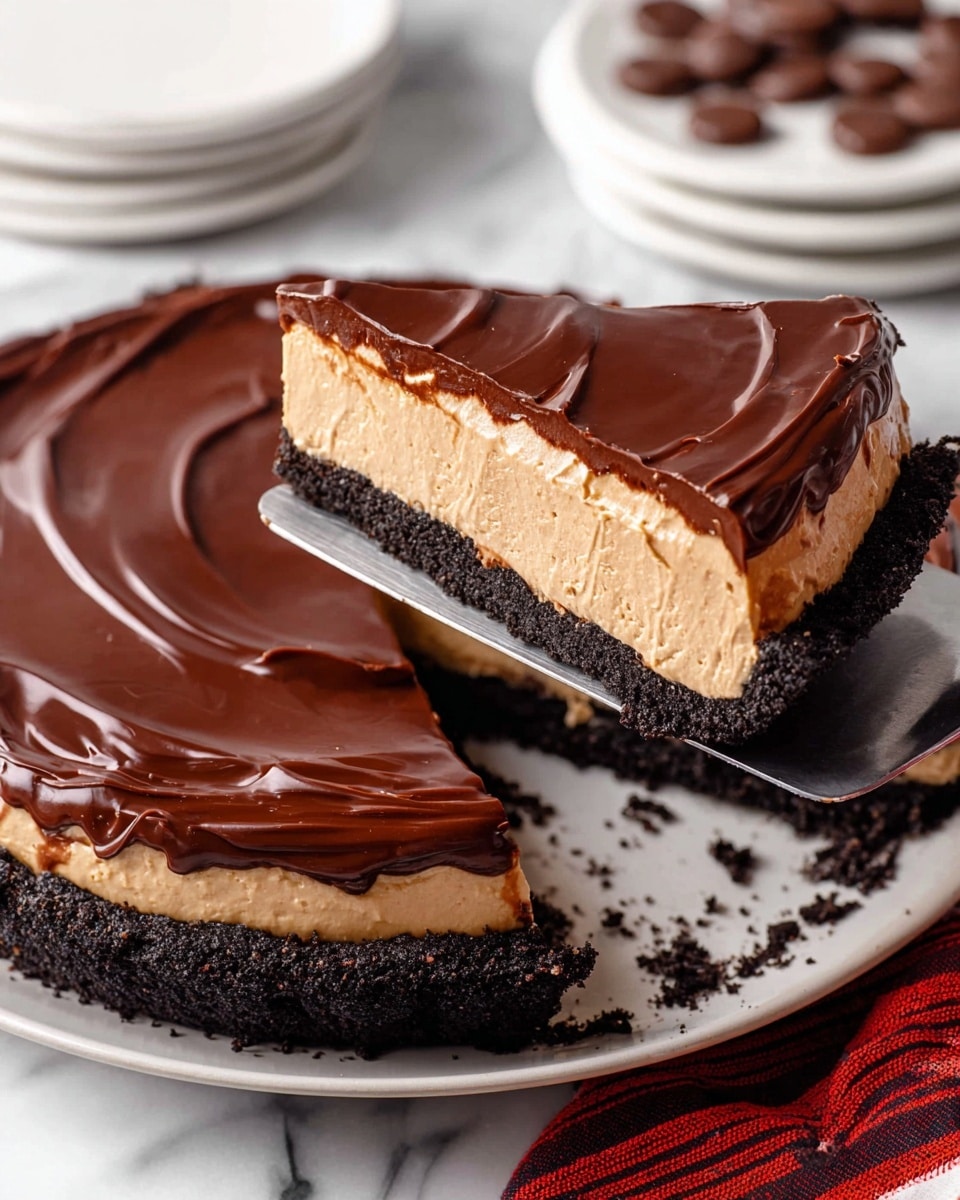
This no-bake mocha cheesecake combines rich chocolate, bold espresso, and creamy texture for a decadent dessert that’s surprisingly easy to prepare. With a crunchy Oreo crust and smooth mocha filling topped with luscious ganache, it’s perfect for impressing guests or treating yourself.
Ingredients
- 22 Oreo cookies
- 5 tablespoons butter, melted
- 1 ½ cups heavy whipping cream, cold
- 24 ounces cream cheese, softened
- ⅓ cup unsweetened cocoa powder
- 1 tablespoon instant espresso powder
- 1 cup powdered sugar
- 1 teaspoon vanilla extract
- ¼ cup heavy whipping cream
- 2 teaspoons instant espresso powder
- ½ cup semi-sweet chocolate chips
- 1 tablespoon light corn syrup
Instructions
- Step 1: Grease a 9-inch springform pan with shortening or butter and set aside.
- Step 2: Use a food processor to crush the Oreos into fine crumbs. Slowly add the melted butter while the processor runs on low until crumbs clump together.
- Step 3: Press the crumb mixture firmly into the bottom and up the sides of the prepared pan. Freeze for at least 20 minutes until firm.
- Step 4: In a mixing bowl, whip 1 ½ cups cold heavy cream with an electric mixer until stiff peaks form. Set aside.
- Step 5: Beat softened cream cheese, cocoa powder, and 1 tablespoon instant espresso powder in a large bowl until smooth.
- Step 6: Add powdered sugar and vanilla extract to the cream cheese mixture and combine well. Gently fold in the whipped cream until fully incorporated.
- Step 7: Spoon the cheesecake filling over the chilled crust and smooth the top. Cover with plastic wrap and refrigerate for at least 6 hours, preferably overnight.
- Step 8: To make the ganache, stir ¼ cup heavy cream with 2 teaspoons instant espresso powder in a microwave-safe bowl. Heat until steaming, about 1 minute.
- Step 9: Add chocolate chips and light corn syrup to the hot cream. Let sit for 2 minutes, then stir until smooth and glossy.
- Step 10: Remove the cheesecake from the springform pan, place it on a serving plate, and spread the ganache evenly over the top. Allow to set for 10 minutes before slicing and serving chilled.
Tips & Variations
- For a stronger coffee flavor, increase the instant espresso powder slightly but balance it to avoid bitterness.
- Use chocolate sandwich cookies without filling for a less sweet crust, or substitute with graham crackers for a different texture.
- Garnish the top with chocolate shavings or cocoa powder for an elegant finish.
Storage
Store the cheesecake covered in the refrigerator for up to 4 days. Keep it chilled until serving for the best texture. If needed, slice and re-chill before serving. Avoid freezing as it may affect the creamy texture.
How to Serve
Serve this delicious recipe with your favorite sides.
FAQs
Can I make this cheesecake ahead of time?
Yes, it’s ideal to prepare it at least 6 hours ahead, but overnight chilling yields the best firmness and flavor development.
What can I use if I don’t have a springform pan?
A regular cake pan can work, but lining it with parchment paper and carefully removing the cheesecake may be challenging. A springform pan is best for easy release and clean edges.
Print
Mocha Cheesecake (No-Bake) Recipe
- Total Time: 6 hours 25 minutes (including chilling time)
- Yield: 12 servings 1x
Description
This no-bake Mocha Cheesecake features a rich Oreo crust combined with a creamy mocha-flavored filling and topped with a smooth espresso-infused chocolate ganache. Perfect for coffee and chocolate lovers alike, this dessert is chilled rather than baked, making it an effortless yet indulgent treat.
Ingredients
Crust
- 22 Oreo cookies
- 5 tablespoons butter, melted
Mocha Cheesecake Filling
- 1 ½ cups heavy whipping cream, cold
- 24 ounces cream cheese, softened
- ⅓ cup unsweetened cocoa powder
- 1 tablespoon instant espresso powder
- 1 cup powdered sugar
- 1 teaspoon vanilla extract
Mocha Ganache
- ¼ cup heavy whipping cream
- 2 teaspoons instant espresso powder
- ½ cup semi-sweet chocolate chips
- 1 tablespoon light corn syrup
Instructions
- Prepare the crust: Grease a 9-inch springform pan with shortening or butter and set it aside. Using a food processor, crush the Oreos into fine crumbs. With the processor running at low speed, slowly add the melted butter until the crumbs begin to clump together. Press these crumbs firmly into the bottom and up the sides of the prepared pan. Freeze the crust for at least 20 minutes or until firm.
- Whip the cream: While the crust is freezing, pour the cold heavy whipping cream into a medium or large bowl and whip it using an electric mixer until stiff peaks form. Set aside.
- Make the cheesecake filling: In a large bowl, beat the softened cream cheese, unsweetened cocoa powder, and instant espresso powder with an electric mixer until smooth and well combined. Mix in the powdered sugar and vanilla extract thoroughly. Gently fold in the whipped cream until fully incorporated.
- Assemble the cheesecake: Spoon the mocha cheesecake filling over the chilled crust and smooth the surface evenly. Cover the cheesecake with plastic wrap and refrigerate for at least 6 hours, preferably overnight, to allow it to set.
- Prepare the mocha ganache: When ready to serve, run a thin knife around the edge of the cheesecake to release it from the pan. Transfer it to a serving plate or cake stand. In a small, microwave-safe bowl, stir together the heavy whipping cream and instant espresso powder. Microwave for about 1 minute or until steaming. Add the semi-sweet chocolate chips and light corn syrup, then let sit for 2 minutes. Stir until the ganache is smooth and all the chocolate is melted.
- Finish and serve: Spoon the mocha ganache over the top of the cheesecake, spreading it evenly. Allow the ganache to set for about 10 minutes before slicing. Serve chilled for the best flavor and texture.
Notes
- For best results, chill the cheesecake overnight to ensure a firm, creamy texture.
- You can substitute Oreos with gluten-free chocolate sandwich cookies if needed to accommodate dietary restrictions.
- The espresso powder adds a deep coffee flavor; adjust the amount to taste or substitute with instant coffee granules.
- Ensure the cream cheese is soft at room temperature for easier mixing and a smoother filling.
- If you prefer a sweeter ganache, you may add a bit more powdered sugar or corn syrup.
- Prep Time: 25 minutes
- Cook Time: 0 minutes
- Category: Dessert
- Method: No-Cook
- Cuisine: American
Keywords: mocha cheesecake, no-bake cheesecake, Oreo crust, coffee dessert, chocolate ganache, easy cheesecake recipe


